Documenting a Village Festival: A Photo Story Checklist
October 29, 2026 - Local Stories

October 29, 2026 - Local Stories
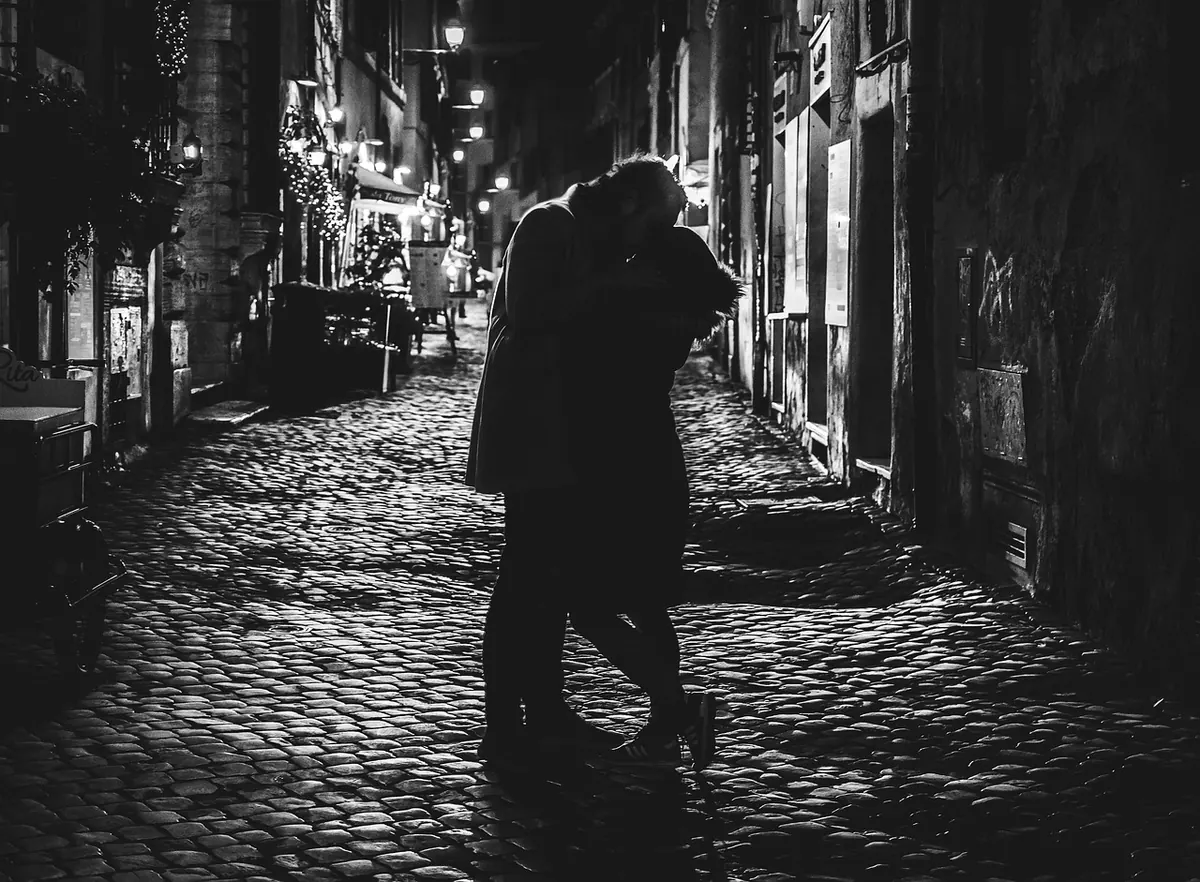
An alleyway promises a particular kind of photograph: compressed perspective, weathered walls, and a bright slice of street at the far end. It is also one of the easiest places to come home with a frame that doesn't work. The problems are rarely dramatic. They are small, repeatable, and almost always the same five. Learn to recognise them while you are still standing in the street, and your hit rate will improve faster than any new lens will manage.
Alleys collect things. Bins, cable runs, air-conditioning units, recycling sacks, a scooter parked where the light was best. None of that is automatically a problem — a lived-in street should look lived-in. The mistake is letting clutter choose the composition for you, so the eye has no idea where to land.
Decide on the subject before you lift the camera. Is it the receding walls, a doorway, the strip of light on the pavement, a person walking away? Once you know, remove everything that competes with it. Most of the time you can do this with your feet: one step closer, half a metre to the left, or lower, so a wheelie bin falls out of frame. Check the edges of the viewfinder specifically, not just the centre. It is almost always something at the edge that spoils an otherwise clean shot.
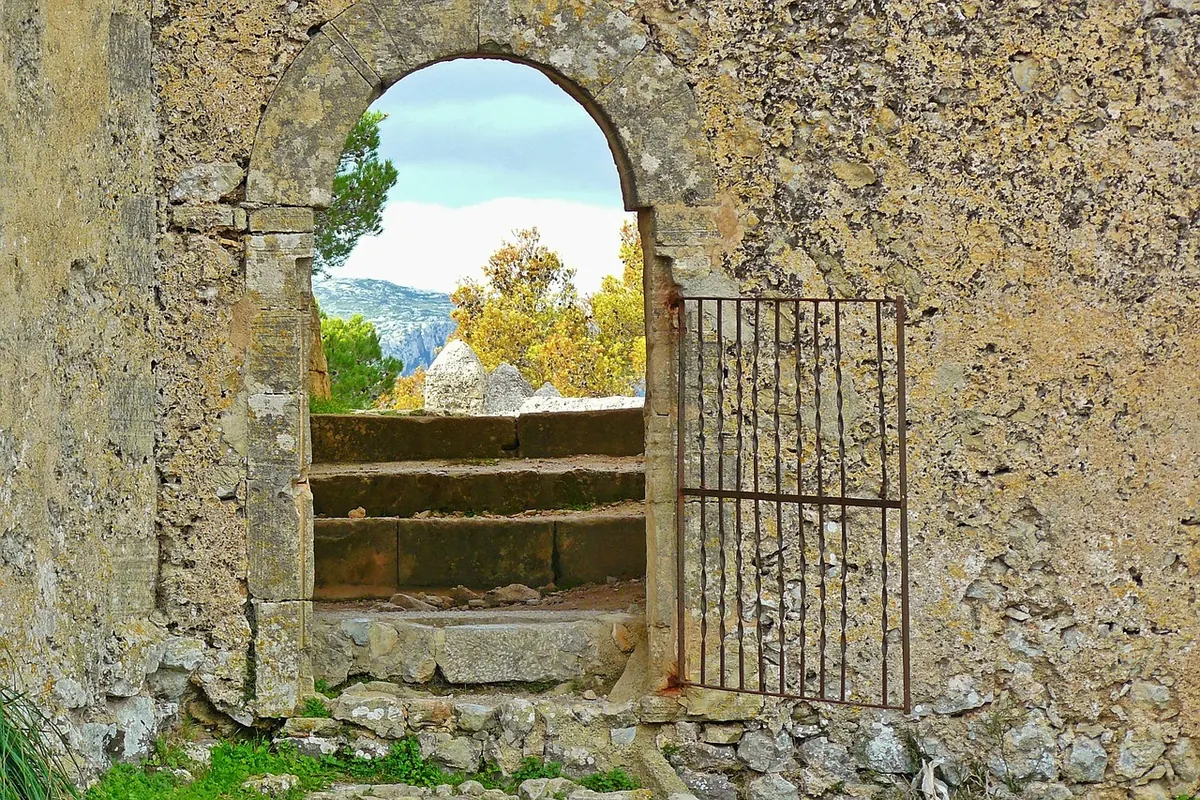
Two other fixes worth knowing. First, look for a natural frame inside the alley — an archway, a passage, a low doorway you can shoot through — which turns messy surroundings into a border. Second, simplify with light. A wall in flat, even shade reads as a calm backdrop; the same wall with three competing highlights on it reads as noise. If the clutter cannot be removed or hidden, consider making it the subject and photographing it deliberately, up close and with intent. Clutter is only clutter when it is undecided.
Alleys are high-contrast places. The shaded walls might be several stops darker than the sunlit street or the strip of sky above, and a camera left to its own judgement will usually split the difference — grey shadows, a white rectangle where the sky should be, and no way to recover it.
Expose for the bright end. Let the shadows fall dark; deep shadow is part of what gives an alley its mood, and dark is not the same as empty. A practical routine:
Shooting raw gives you room to lift the shadows later. Resist lifting them too far: over-lifted shadows turn to grey mush and bring noise with them. When the contrast is genuinely extreme, bracket two or three frames and blend them carefully, or simply accept a bright, blown opening at the end of the alley as part of the composition — a glowing exit can be the point of the picture.
A corridor without a reference is just a corridor. What makes a viewer feel the squeeze of a narrow street is a familiar object to measure it against: a person, a bicycle, a chair, a plant pot, a cat, a line of washing. Without one, even a genuinely tight passage can look like a generic gap between walls.
The strongest solution is a human figure, small and preferably in silhouette, at or near the far end. Wait for one. It is rarely more than a couple of minutes in a lived-in neighbourhood, and the patience shows in the picture. When no one comes, use what the street gives you — doorways and windows are roughly human-sized, and a chair or a scooter tells the eye how tall the walls are.
Camera position matters as much as content. Somewhere between chest and waist height often works better than eye level, because it lets the walls converge more strongly toward the top of the frame. A foreground element close to the lens — a corner, a step, a drainpipe — adds a second cue for depth, as long as it does not swallow the rest of the frame. And keep some ground in the shot; cropping out the pavement removes the floor the whole scene stands on.
In a narrow space the walls lean toward each other anyway, so a slight, accidental tilt does not read as expressive. It reads as careless. Door frames, window edges and drainpipes are strong vertical lines, and the eye notices when they are off.
Turn on the grid overlay and the electronic level if your camera has one. Pick one line that should be truly vertical — a doorframe is ideal — and align to it. With wide lenses, keep the camera back parallel to the wall you care about; tilting the camera upward makes walls converge, which can be dramatic or can be a distortion you spend an hour fixing later.
If you want the convergence, commit to it fully and shoot from low down so it looks intentional. In post, lens correction and a small rotation will tidy most small errors, but over-correcting bends doorways into barrels and makes a normal alley look strange. Fix the last degree or two, then stop.
The wide shot down the alley is one photograph. The details are five more, and they are usually the ones that stay with people: a worn threshold, a brass handle polished by hands, a house number in peeling enamel, stickers layered on a meter box, cables stapled into neat loops, moss along a drain, condensation on a window.
Build a habit. Take the wide frame, then spend five deliberate minutes on details — change your height, move in close, look up at the balconies and down at the pavement. Before you go, turn around. The view back out of an alley is frequently better than the one you walked in for, because the light is coming toward you and the walls fall into silhouette. And keep some manners about it: windows are people's homes, so photograph façades and textures freely, but be considerate about faces, and ask before photographing someone close up.
None of this needs new equipment, and all of it fits into the time it takes to drink a coffee.
Do this often enough and it stops being a checklist. You will simply notice the bin at the edge of the frame, the blown sky, the leaning doorframe, and you will fix them without thinking. The alley will not have changed. Your photographs will.
Photo: martieda / Pixabay
A practical checklist for photographing a village festival — from permissions and route scouting to key moments,...
A practical guide to the doorways, stairways, and laundry lines that give Italian village streets their rhythm, and...
October 29, 2026 - Local Stories
Copyright © 2026 Sguardi Del Vicolo. All Right Reserved.