Documenting a Village Festival: A Photo Story Checklist
October 29, 2026 - Local Stories

October 29, 2026 - Local Stories
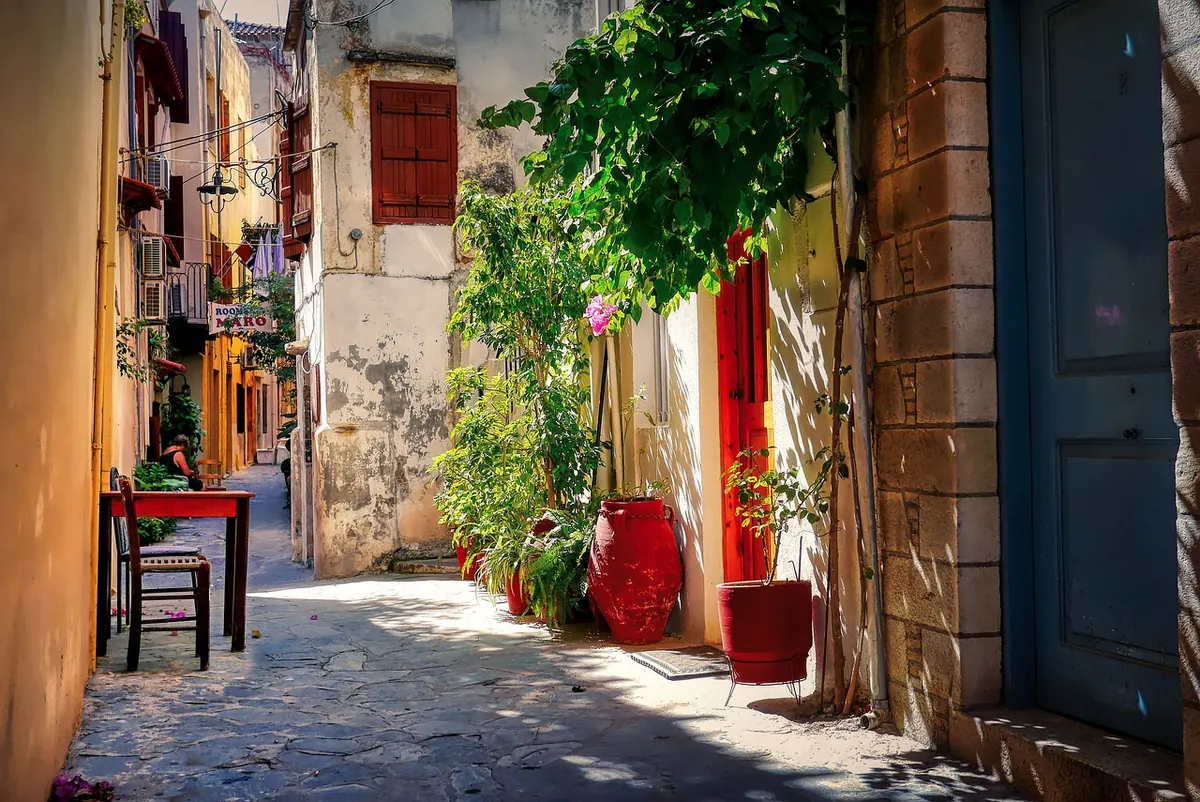
Every city has a handful of alleys that look like they were built to test a light meter. A strip of sun on the upper wall, a doorway falling three stops darker, wet stone catching a sliver of sky — and suddenly the scene in front of you is asking for more range than a single frame will give.
That is not a reason to walk past. Alleys hold the densest, most layered light in the city, and with a few steady habits you can keep bright plaster from burning to white while the shadowed steps still read as stone rather than grey mush.
Walk the length of the alley once without raising the camera. You are looking for three things: where the sun actually lands, how deep the shade goes, and which surfaces carry texture worth saving. A sunlit plaster wall with fine cracks is a different problem from a blown-out patch of whitewash with nothing in it. If the highlight has no detail, you can let it go. If the shadow hides a doorway, a bicycle, a cat on a step, that shadow is the picture.
Midday is the hardest and often the most interesting time. The sun cuts a hard diagonal across the alley and the shaded side goes very dark, sometimes six or seven stops below the lit wall. A modern sensor handles a lot, but not everything, especially once you start lifting deep shadows in editing. Decide before you shoot which end of the range matters most and plan around it.
Look at what bounces light back into the shade. Pale stone paving, a whitewashed wall opposite, a wet gutter after rain — these act like free reflectors and soften the contrast by a stop or more. Dark cobbles and soot-stained brick do the opposite. The same alley at 9am and 4pm behaves like two different locations, so note the hour and come back if the light is fighting you.
Blown highlights are gone for good in a single frame; deep shadows usually hold something recoverable in a raw file. Meter with that asymmetry in mind.
This is exposing to the right, but gently. Push too far and you gain nothing in the shadows while giving away the bright side of the alley.
Some alleys simply exceed the sensor. A sunlit rooftop strip above a deep passage is a classic case, and no amount of metering cleverness fits it into one exposure. Bracket instead: three frames two stops apart, or five at one-and-a-half stops if the extremes are severe.
Hand-held bracketing works better than most people expect. Set the drive to continuous high speed, hold the shutter down and let the camera rattle off the sequence in under a second. That short burst keeps leaves, laundry and passing pedestrians close enough to align later. For architectural work, or any alley where you want the frame edges perfectly registered, use a tripod and shoot the sequence with a two-second delay so nothing moves except the light.
If the brightest textured surface and the deepest shadow you care about cannot both be read in one frame, bracket. It costs two seconds and saves the shot.
Bad HDR announces itself: flat midtones, glowing edges, a halo around every doorframe. Good blending is invisible. The trick is to let one frame lead and use the others only where they are needed.
A simpler alternative for alleys with a bright sky slot at the top: shoot the balanced exposure and blend a single darker frame into the upper strip with a gradient mask. Two frames, one gradient, thirty seconds of work.
Shadow recovery is where alley photographs are usually won or lost. Lifting three stops in editing exposes noise you never saw on the camera screen, and it also flattens the contrast that made the scene feel like an alley in the first place.
Work on a raw file in a flat or neutral profile so you are seeing the real data rather than a punchy camera treatment. Raise the shadows slider modestly, then go further only with local adjustments over the areas that need it — a doorway, a stairwell, the shaded side of a bicycle. Keep some true black in the frame. A photograph where every corner is visible looks like a survey document, not a picture.
When noise does appear, apply reduction selectively to the shadow areas rather than globally, and leave the sunlit stone alone so it keeps its bite. A light touch of midtone contrast afterwards restores the separation the lift softened. If you know a scene will need heavy lifting, expose half a stop brighter in the field — that is always cheaper than fixing it later.
Walk to the end of the alley and look back — the composition is often better facing the light. Meter on the brightest textured surface and set your exposure a stop and a half below it. Take one frame, check the histogram, then bracket a three-shot sequence as insurance. In editing, start from the highlight frame, blend in shadow detail with soft masks, lift locally rather than globally, and leave the darkest corners dark. Do that consistently and the alley will look the way it felt: bright at the top, cool and deep below, with detail held at both ends.
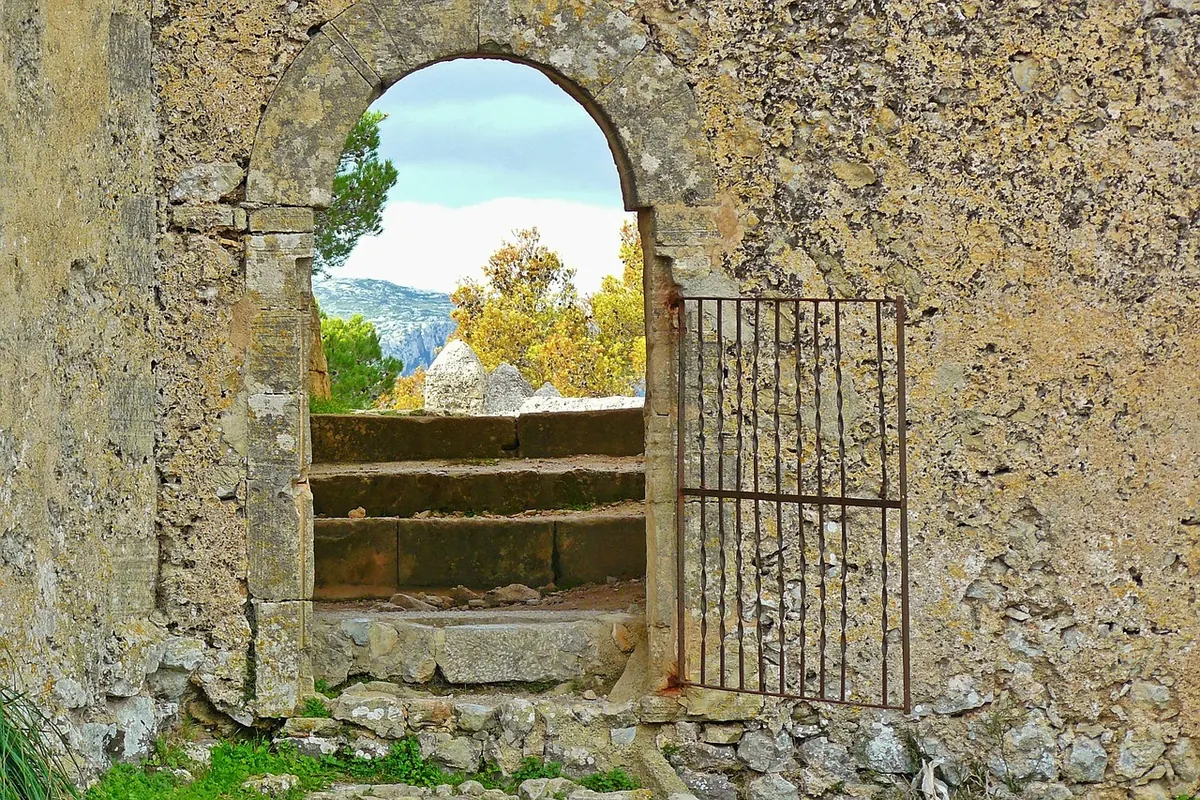
Photo: fietzfotos / Pixabay
A practical checklist for photographing a village festival — from permissions and route scouting to key moments,...
A practical guide to the doorways, stairways, and laundry lines that give Italian village streets their rhythm, and...
October 29, 2026 - Local Stories
Copyright © 2026 Sguardi Del Vicolo. All Right Reserved.