Documenting a Village Festival: A Photo Story Checklist
October 29, 2026 - Local Stories

October 29, 2026 - Local Stories
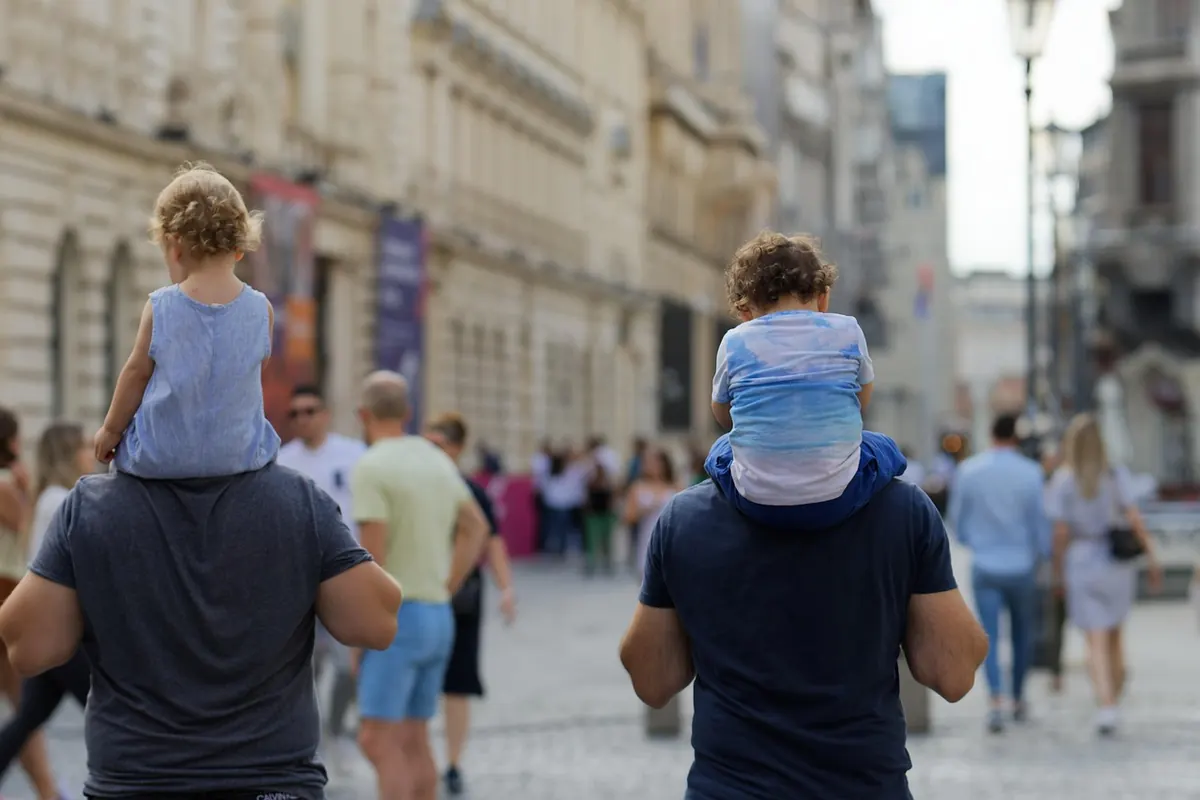
An old town gives you narrow lanes, white plaster, shutters, stone thresholds and laundry strung between walls — a stage set that has been photographed a million times and still offers something new at every corner. The problem is rarely a lack of subjects. It's that an hour disappears into menu-diving, lens swaps and hesitant wandering. The photographers who come back with two or three real frames are the ones who decided everything before they walked in. What follows is the checklist worth running through before your foot hits the first cobble.
Old towns are shadow machines: a lane four metres wide can drop two stops between one doorway and the next. Settings that chase that change will cost you frames. Choose a setup that survives the whole hour without your eye leaving the viewfinder.
Start with aperture priority around f/5.6 to f/8. That gives you enough depth for a wall and a person in the same frame without pushing shutter speeds into blur territory under the shade of an archway. Set Auto ISO with a minimum shutter speed of 1/125s, or 1/250s if you like shooting while you walk. Fix white balance to daylight so a run of frames in the same street looks like a run, not a patchwork. Dial exposure compensation to about minus one-third or minus two-thirds of a stop; old towns are full of pale plaster that blows out fast.
Then get the camera out of your way:
One body, one lens. A 28mm or 35mm equivalent is the natural choice for streets this tight; it forces you into the scene instead of picking at it from a distance. A small prime also keeps the camera light enough to carry in one hand for an hour, which matters more than any specification.
Add a microfiber cloth, a spare battery, and a bag that doesn't announce itself as camera equipment. Leave the tripod at home — an hour-long walk is not a long-exposure session, and legs in a narrow lane are a nuisance. A wrist strap beats a neck strap in crowds. If you shoot film or want the discipline of it, take one roll of 36 and treat the hour as a hard limit.
Resist the urge to start firing at the first picturesque doorway. Walk the perimeter of your chosen area first, fast and without the camera raised. You are looking for three things: where the light is falling, where people appear, and where the lanes give you layered depth.
In an old town, light does most of the composing. Morning and late afternoon rake down the alleys and light one wall while the other goes black; midday flattens everything except the narrow strip of sky between roofs. Note which side of each street is lit and roughly when. Then find the places people pass through rather than the places they pose: the bakery counter, the fountain, the church steps, the bench outside the tobacconist, the crossing where three lanes meet.
An hour is enough if you know what you're looking for.
Pick two or three spots and commit to them. A photographer who waits eight minutes at a good corner will beat one who walks the same eight minutes looking for a better corner.
A short list keeps you moving and stops the hour from becoming a random harvest of doorways. Six frames, roughly in this order:
Work the middle half hour for people, and let the last fifteen minutes be details and the walk back. If a frame isn't working after a couple of attempts, leave it. There is always another corner.
Small towns notice you. The same faces pass twice, and the shopkeeper sees you loitering. That's fine — it's part of the work — but a few habits keep it comfortable. Don't stand in a doorway or block a counter. Photograph from the waist or chest with the screen tilted up when you want a candid frame in a crowd; pre-focus and let people walk into your composition rather than following them. If a face is the subject and the moment allows, ask. A nod and a lifted camera does most of the work, and a refusal costs you nothing.
Respect signs asking for no photographs, particularly in churches and around children. If someone objects, show them the frame or delete it in front of them. You'll be back on this street, and being remembered as reasonable is worth more than any single image.
Stop shooting before the hour is up. Find a step, sit down, and scroll back through what you have. You are checking two things: sharpness at the focus point, and whether the highlights on white walls survived. Delete the obvious failures now — it saves you twenty minutes at the desk and clears your head.
Then write down, in a note on your phone, the two frames you didn't get and where they were. A lane that will be lit at six in the evening. A doorway where someone will eventually stand. That list is the real product of the hour.
The value of a one-hour walk isn't the hour; it's doing it again next week on the same route at a different time of day. Same streets, different light, different people — and suddenly you know where the good corner is before you arrive. Keep a small list of old-town lanes with the hour you shot them and what the light was doing. After a month you'll have a personal map that no guidebook will give you, and the discipline of a checklist that leaves your attention free for the only thing that matters: the frame in front of you.
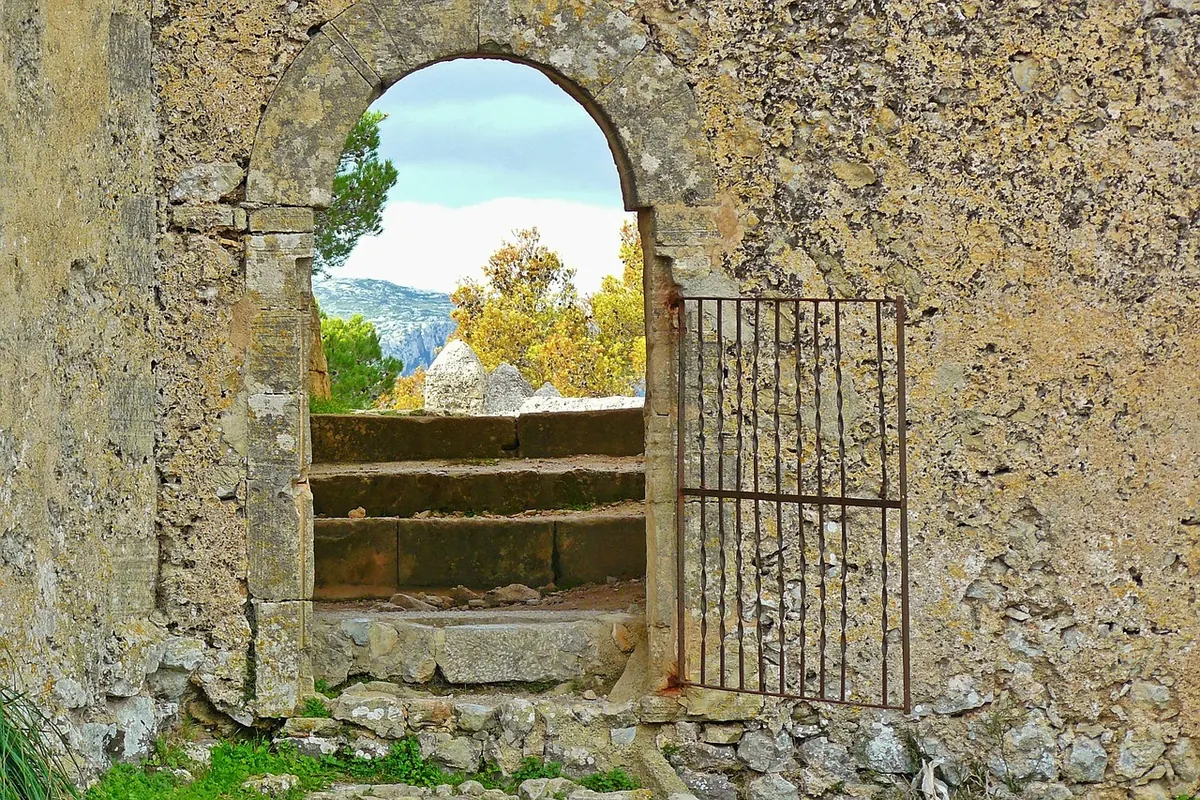
Photo: Surprising_Media / Pixabay
A practical checklist for photographing a village festival — from permissions and route scouting to key moments,...
A practical guide to the doorways, stairways, and laundry lines that give Italian village streets their rhythm, and...
October 29, 2026 - Local Stories
Copyright © 2026 Sguardi Del Vicolo. All Right Reserved.